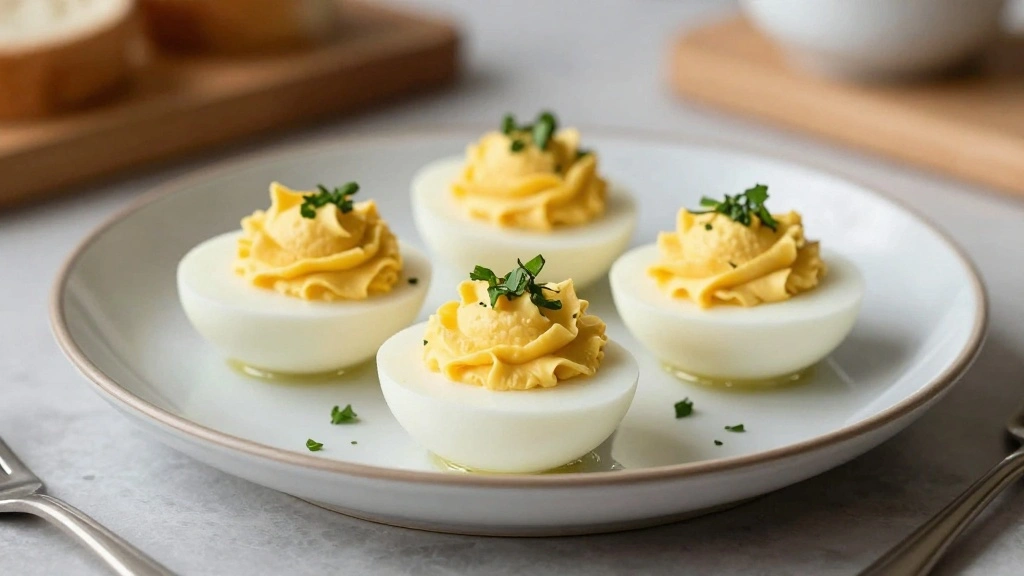
This classic Traditional Deviled Eggs Recipe brings together centuries of culinary tradition with modern techniques to create a dish that’s both comforting and elegant.
I first encountered this dish at a family gathering, where its creamy texture and tangy flavor profile captured my taste buds.
The harmonious balance of mustard, mayo, and paprika creates a memorable dining experience that will have everyone asking for your secret.
Whether you’re preparing a casual family dinner or hosting a special celebration, this deviled eggs recipe delivers impressive results with straightforward preparation.
The History and Cultural Significance
• Deviled Eggs Recipe traces its origins to ancient Rome, where it was originally created by chefs serving boiled eggs with spicy sauces.
• The dish evolved over decades as the use of mayonnaise and mustard became common, eventually becoming the beloved version we know today.
• In American culture, this dish traditionally appears at picnics, potlucks, and holidays, symbolizing hospitality and comfort.
• While many variations exist across different regions, the authentic version maintains a creamy yolk filling that sets it apart from imitations.
Recipe Overview
Nutritional Information (per serving)
Essential Equipment Guide
Egg Cooker or Saucepan: An egg cooker ensures perfectly boiled eggs without guesswork, but a saucepan works well if monitored for time and temperature.
Mixing Bowl: A medium-sized mixing bowl is ideal for combining yolk filling ingredients to achieve a smooth consistency.
Piping Bag or Spoon: Using a piping bag gives a professional look with neat yolk placement, while a spoon offers a more rustic yet charming approach.
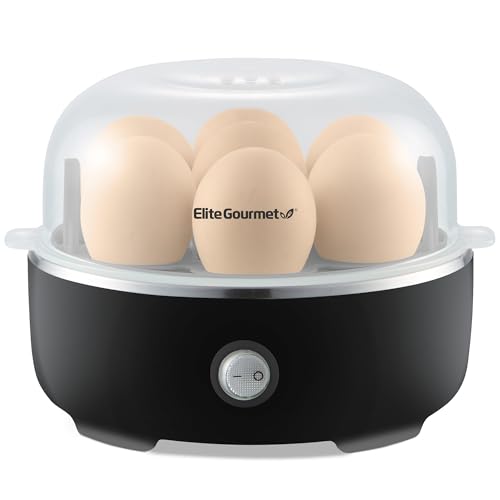
SEVEN EGG CAPACITY: Cook up to 7 eggs in soft, medium, or hard-boiled firmness, while saving time and water. Eggs come out consistently perfect, shell is easy to peel, and cleanup is simple!

Eggs in a Dash: Use the Dash Rapid Egg Cooker to make hard-boiled eggs, soft-boiled eggs, poached eggs, scrambled eggs, and individual omelets, all within minutes

14 EGG CAPACITY: Cook up to 14 eggs in soft, medium, or hard-boiled firmness, while saving time and water. Eggs are cooked perfectly each time, shell is easy to peel, and cleanup is simple!
Ingredients
For the Eggs
|
| Amount | Ingredient | Notes |
|---|---|---|
| 12 large | eggs | hard-boiled and peeled |
For the Filling
| Amount | Ingredient | Notes |
|---|---|---|
| 1/2 cup | mayonnaise | adds creaminess |
| 1 tablespoon | yellow mustard | provides tang |
| 1 teaspoon | white vinegar | adds a slight acidity |
| 1/2 teaspoon | salt | enhances flavor |
| 1/4 teaspoon | black pepper | adds subtle heat |
For Garnish
| Amount | Ingredient | Notes |
|---|---|---|
| 1 teaspoon | paprika | for color and mild spice |
| 1 tablespoon | fresh parsley | chopped, for freshness |
Preparation Methods
Hard-Boiling Eggs: This technique involves boiling eggs until the whites and yolks are firm, crucial for easy peeling and maintaining structure during filling.
Mashing Yolk Mixture: Proper mashing ensures a smooth filling; lumps can be avoided by using a fork or an electric mixer for a velvety texture.
Piping Yolk Filling: Using a piping bag allows for precise filling placement, making the eggs look visually appealing and ensuring even distribution.
Step 1: Hard-Boil the Eggs

Place the eggs in a single layer in a saucepan.
Cover them with water, about an inch above the eggs.
Bring water to a boil, then cover and remove from heat, letting them sit for 10 minutes.
Transfer eggs to an ice bath to stop cooking and make peeling easier.

Have you ever gotten frustrated by taking time to peel the boiled egg shells or crushing the boiled eggs? By making a small hole before boiling the egg, you can peal off the shell easily.
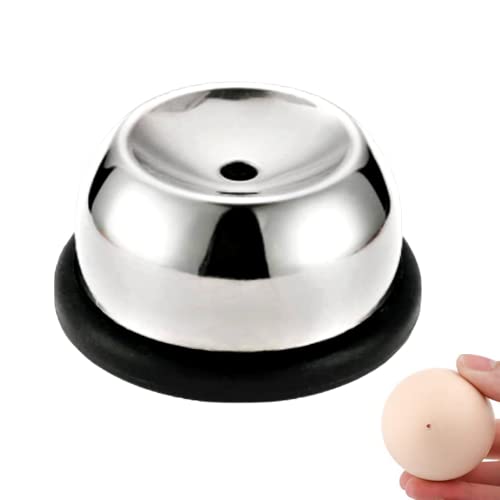
EASY EGG PEELER EGG HOLE PUNCHER: A practical kitchen egg gadget, by poking a hole at fatter end of the raw egg before boiling, the egg shell would be very easily get peeled off - the eggshell almost slides off to get a good hard boiled egg.

Peel Eggs with Ease: Designed for soft and hardboiled eggs alike, our egg shell remover provides a quick, clean and easy peel! Includes one green and one white peeler so whether you make deviled eggs or egg salad, you’ll be equipped with what you need.
Step 2: Peel the Eggs

Gently tap each egg on a hard surface to crack the shell.
Roll the egg under your palm to loosen the shell.
Peel under running water to remove any stubborn bits.
Pat the eggs dry with a paper towel.
Step 3: Halve the Eggs

Using a sharp knife, slice each egg in half lengthwise.
Gently remove the yolks and place them in a mixing bowl.
Arrange the egg whites on a serving platter with the cut side up.
Ensure the yolk cavity is intact for filling.
Step 4: Prepare the Yolk Filling

Mash the egg yolks with a fork until crumbled.
Add mayonnaise, mustard, vinegar, salt, and pepper.
Mix until smooth and creamy, adjusting seasoning as needed.
Ensure there are no lumps for a consistent texture.
Step 5: Fill the Egg Whites
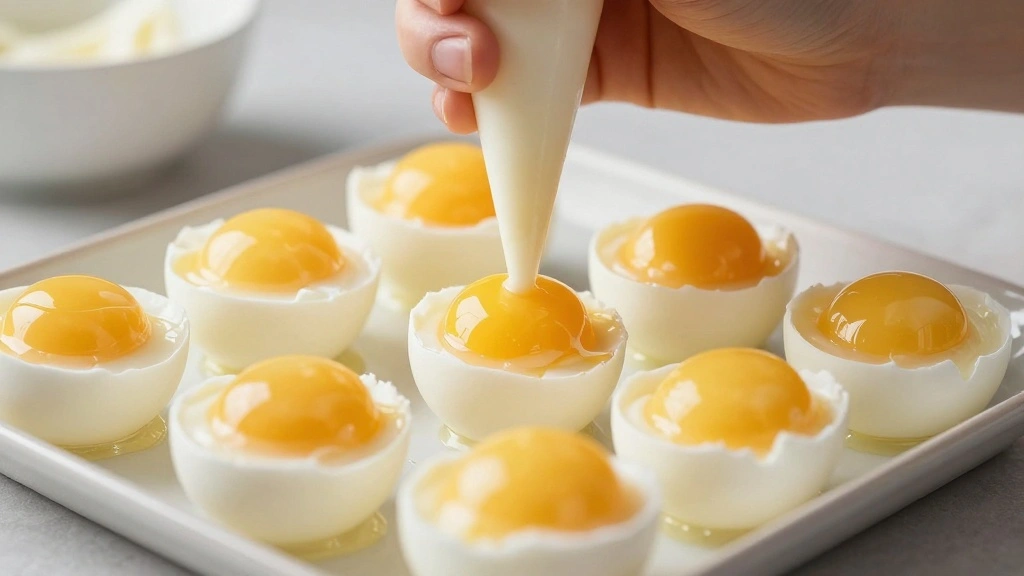
Transfer the yolk mixture to a piping bag or use a spoon.
Fill each egg white cavity with the yolk mixture.
Ensure an even amount is distributed across all eggs.
Wipe any excess filling from the edges for a clean presentation.
Step 6: Garnish the Deviled Eggs
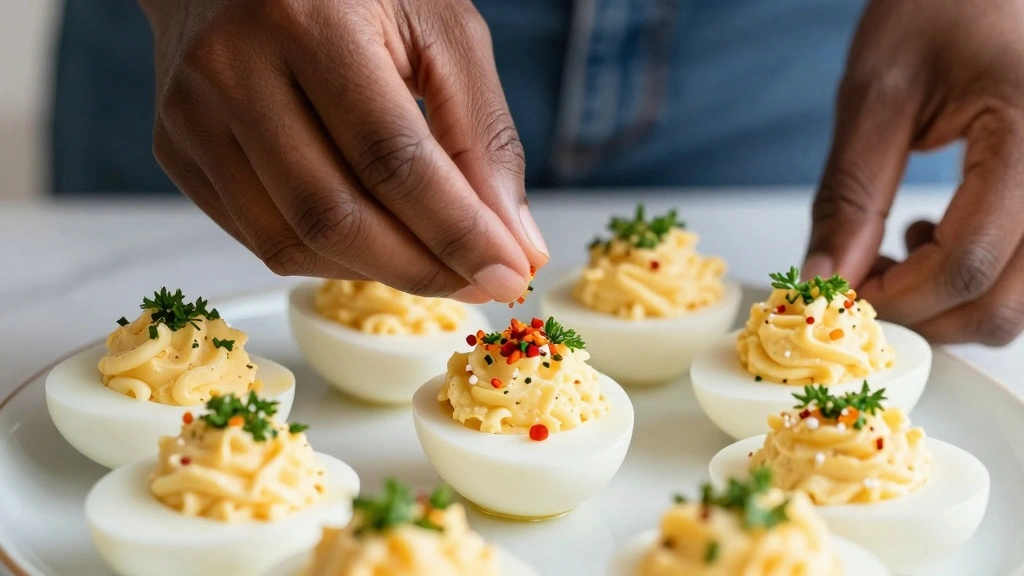
Sprinkle each egg with a pinch of paprika.
Add a small amount of chopped parsley for color.
Ensure garnishes are evenly distributed and not overpowering.
Adjust the amount based on personal taste.
Step 7: Chill Before Serving
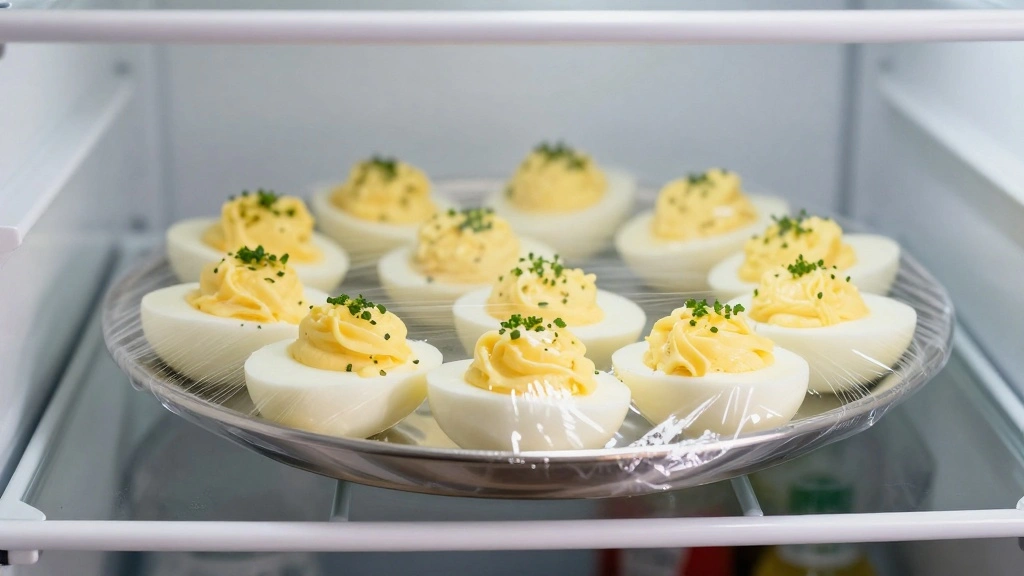
Cover the platter with plastic wrap.
Refrigerate for at least 30 minutes to allow flavors to meld.
Ensure eggs are well-chilled for optimal taste and texture.
Remove from the fridge just before serving.
Step 8: Serve and Enjoy
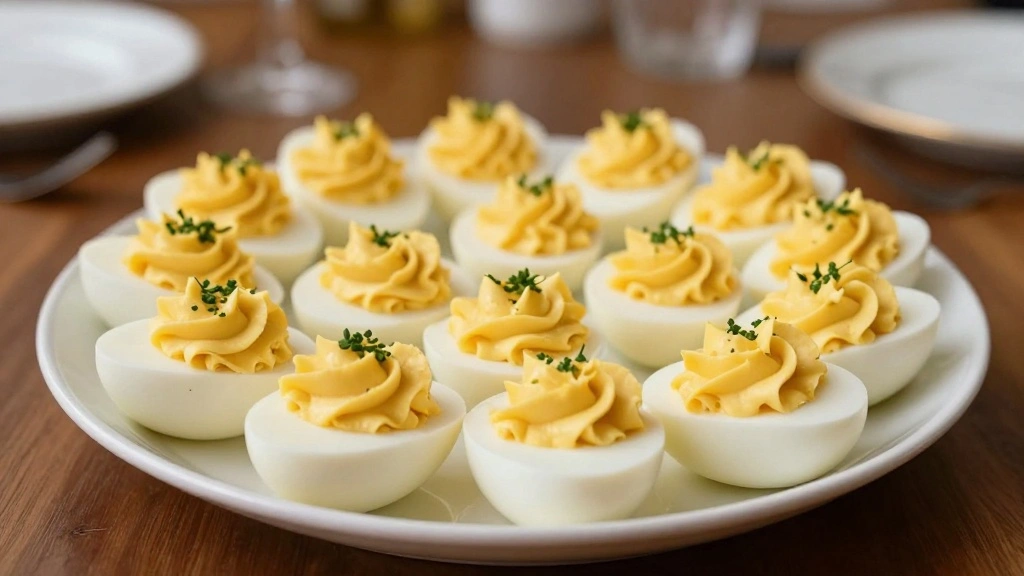
Arrange the eggs neatly on a serving dish.
Serve cold as an appetizer or side dish.
Encourage guests to try and savor the flavors.
Share the recipe with those who ask for it!
Critical Timing and Temperature Guide
Boiling Eggs: Boil eggs for exactly 10 minutes, then transfer immediately to an ice bath to prevent overcooking and ensure easy peeling.
Chilling the Eggs: Chill the filled eggs for at least 30 minutes before serving to enhance flavor and texture; avoid serving at room temperature.
Mixing Yolk Filling: Mix yolk filling until smooth; lumps indicate insufficient mixing, which affects texture.
Pro Tips for Deviled Eggs Recipe
• Ingredient Selection: Choose fresh, high-quality eggs and real mayonnaise for the best flavor and texture.
• Preparation Secret: Adding a teaspoon of vinegar to the boiling water can help make the eggs easier to peel.
• Temperature Management: Ensure eggs are at room temperature before boiling to prevent cracking and ensure even cooking.
• Texture Enhancement: Use an electric mixer for the yolk filling to achieve a perfectly smooth and creamy texture.
• Flavor Layering: Experiment with adding a dash of hot sauce or a pinch of cayenne to the filling for an extra kick.
• Make-Ahead Strategies: Prepare the eggs a day in advance; store filled eggs in an airtight container to maintain freshness.
• Restaurant-Quality Finishing Touches: Use a star-tipped piping bag for a professional-looking finish.
• Equipment Optimization: If you don't have a piping bag, cut the corner off a plastic sandwich bag for similar results.

All-in-One Piping Tips Set - Includes a reusable piping bag, 6 large piping tips, coupling, cleaning brush and storage container for easy decorating and efficient organization. A staple for any occasion!

PROFESSIONAL SILICONE PASTRY BAGS: Compared with others,ELK's piping bags uses the 60HA elastic silicone, which is the perfect material for the piping tips set. The slight elasticity ensures its reusability, allowing the viscous liquids to flow smoothly inside. It won’t blow out even if you knead the thick batter with it. Its high stretchiness means that all of the squeezing efforts you make gets transferred to bulging sides as it stretches out, instead of forcing the frosting out the bottom.

【THICKENED 16 INCH PIPING BAGS】- Firstake large piping bag is made of thickened material, that is flexible, strong, reliable and thick enough to withstand pressure of squeezing and frosting without any burst or leakage, you can use it safely.
Troubleshooting Common Issues
• Eggs Too Hard or Rubbery: This is caused by overcooking; ensure correct boiling time and immediate ice bath to prevent this.
• Filling Too Lumpy: Insufficient mixing can cause lumps; ensure thorough mashing and mixing of yolks with other ingredients.
• Eggs Difficult to Peel: Fresh eggs are harder to peel; try using eggs that are a week old for easier peeling.
• Filling Lacks Flavor: Balance flavors by adjusting salt, mustard, or vinegar; taste and adjust seasoning after mixing.
• Egg Whites Tear During Filling: Avoid overfilling and use a gentle hand when placing the yolk mixture.
• Garnish Slips Off: Pat eggs dry before garnishing to ensure paprika and parsley adhere properly.

🥚【Value Pcak】This deviled egg container set includes 3 carriers with lids and 8pcs syringe kits for decorating eggs. Perfect for small gatherings or large parties, ensuring you have everything you need to prepare deviled eggs with ease.

🥚【Value Pcak】This deviled egg container set includes 3 carriers with lids and 8pcs kits for decorating eggs. Perfect for small gatherings or large parties, you have everything you need to prepare deviled eggs with ease.
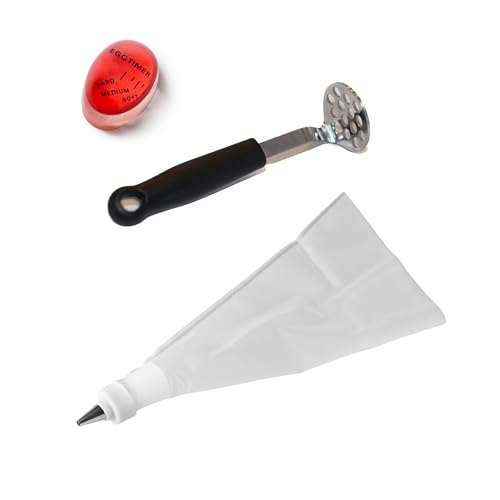
MAKE PERFECT DEVILED EGGS: You will have all the tools you need to make delicious deviled eggs at home with this deviled egg kit! The Egg Rite Timer lets you know exactly when your eggs are done, the stainless steel masher effortlessly makes the filling, and the piping bag includes a tip to finish the dish!
Variations and Regional Differences
• Southern Style: This version includes sweet pickle relish and a dash of hot sauce, offering a sweet and spicy twist.
• European Variation: Incorporates smoked salmon or anchovies into the filling, adding a unique umami flavor.
• Southwestern Twist: Adds jalapeños and cilantro to the filling for a fresh, zesty flavor profile.
• Classic French: Uses Dijon mustard and herbs de Provence for a refined, aromatic experience.

A Southern Classic in Every Spoon Our Chow Chow Relish blends pickled vegetables with a sweet and tangy Southern flair — a versatile condiment that elevates any meal.

Braswell's Dill Pickle Jalapeno Hot Sauce is Made From Cucumbers, Green Jalapeno Peppers, Distilled Vinegar, Garlic Dill and Cucumbers

Louisiana Original Hot Sauce, 12 Ounce Glass Bottle
Food Science Behind the Recipe
• Protein Coagulation: Boiling causes egg proteins to coagulate and solidify, which is crucial for the structural integrity of deviled eggs.
• Emulsification: The yolk's natural lecithin helps emulsify the mayonnaise, creating a creamy and stable filling texture.
• Acid and Base Reaction: Mustard and vinegar add acidity, balancing the rich yolk and mayonnaise for a well-rounded flavor.
Frequently Asked Questions
What's the most common mistake people make when preparing deviled eggs? Overcooking the eggs, leading to a rubbery texture and greenish yolk.
Can I make deviled eggs in advance? Yes, prepare them a day ahead and store them in an airtight container in the fridge.
Why is my filling too runny? Too much mayonnaise can cause this; adjust the amount or add more yolk to thicken.
How can I make peeling easier? Use older eggs and an ice bath to help the shells come off cleanly.
Can I use Miracle Whip instead of mayonnaise? Yes, but it will alter the flavor profile as Miracle Whip is sweeter.
What's the best way to transport deviled eggs? Use a deviled egg carrier or an egg tray with a lid to prevent sliding.
Why do my egg whites tear during filling? Be gentle when handling, and use a piping bag for more control.
Serving and Presentation Guide
• Traditional Presentation: Serve on a classic egg platter with garnishes of paprika and parsley.
• Modern Twist: Use a slate board for a contemporary look, with microgreens for garnish.
• Rustic Style: Arrange on a wooden board with assorted pickles and olives for a hearty appetizer.
• Elevated Elegance: Serve on a tiered platter with edible flowers for an upscale effect.
Conclusion
This traditional deviled eggs recipe is a timeless classic that brings people together with its rich flavors and creamy texture.
Easy to prepare and always a crowd-pleaser, it's a dish that belongs at every gathering.
Try this recipe, experiment with variations, and make it your own signature dish.