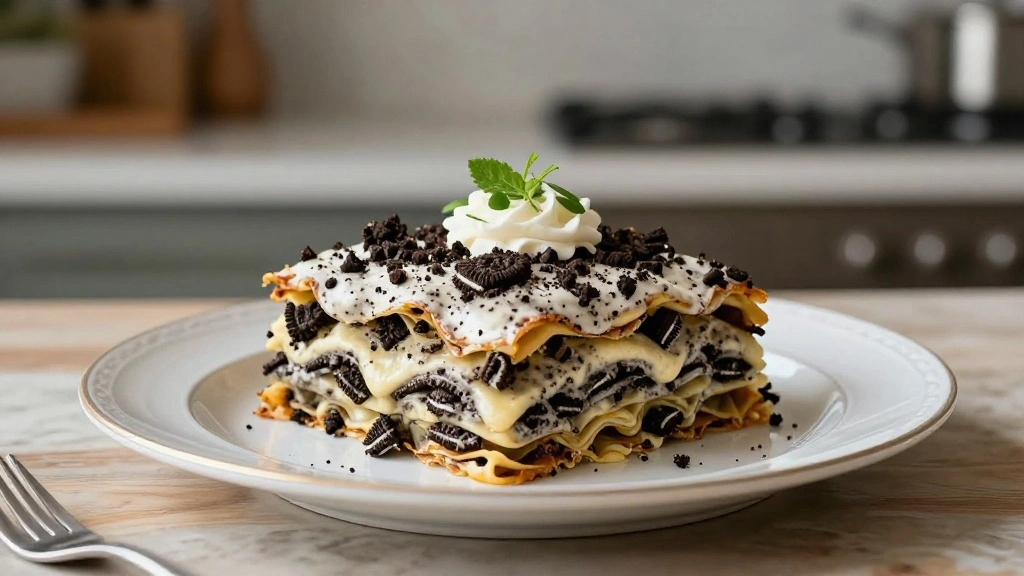
The Sweet and Creamy Oreo Lasagna is a delightful dessert that combines layers of rich, chocolatey goodness with velvety cream.
Imagine a dessert that captures the indulgence of a classic lasagna but swaps out savory for irresistibly sweet ingredients.
This no-bake treat is perfect for summer gatherings or any occasion where you want to impress with minimal effort.
The combination of Oreos, cream cheese, and pudding creates a symphony of flavors and textures that will have everyone reaching for seconds.
Whether you’re a seasoned baker or a novice in the kitchen, this recipe is straightforward and guaranteed to satisfy any sweet tooth.
The History and Cultural Significance
• Sweet and Creamy traces its origins to the United States in the late 20th century, where it was originally created by home cooks experimenting with layered desserts.
• The dish evolved over decades as the availability of pre-packaged ingredients like Oreos and instant pudding increased, eventually becoming the beloved version we know today.
• In American culture, this dish traditionally appears at potlucks and family gatherings, symbolizing indulgence and comfort.
• While many variations exist across different regions, the authentic version maintains layers of cream and chocolate that set it apart from imitations.
Recipe Overview
Nutritional Information (per serving)
Essential Equipment Guide
9×13-inch Baking Dish: This dish is essential for layering the ingredients properly to achieve the signature lasagna aesthetic. A glass dish allows you to see the beautiful layers. Alternatives include any similar-sized dish, but avoid metal pans that might react with acidic ingredients.
Electric Mixer: Using an electric mixer ensures a smooth, creamy filling without lumps. A hand mixer or stand mixer both work well. Look for mixers with multiple speed settings for better control.
Food Processor: A food processor effectively crushes the Oreos to the right consistency. While a plastic bag and rolling pin can work in a pinch, a food processor gives a more uniform result.
Ingredients
For the Base
|
| Amount | Ingredient | Notes |
|---|---|---|
| 36 pieces | Oreos | crushed to fine crumbs |
| 6 tablespoons | butter | melted, binds the crust |
For the Cream Cheese Layer
| Amount | Ingredient | Notes |
|---|---|---|
| 8 ounces | cream cheese | softened to room temperature for easy mixing |
| 1 cup | powdered sugar | adds sweetness |
| 1 cup | whipped topping | folded for a light texture |
For the Chocolate Pudding Layer
| Amount | Ingredient | Notes |
|---|---|---|
| 2 boxes | instant chocolate pudding mix | used for chocolate flavor |
| 3 cups | milk | cold, to set the pudding |
For the Topping
| Amount | Ingredient | Notes |
|---|---|---|
| 1 cup | whipped topping | spreadable for the final layer |
| 1 cup | mini chocolate chips | for garnish and added texture |
Preparation Methods
Oreo Crust Formation: Crush the Oreos finely to create a cohesive crust that holds together when pressed into the dish. This ensures a solid base that supports the layers above.
Layering Technique: Carefully spread each layer evenly to achieve the distinctive lasagna look. This prevents the dessert from collapsing or mixing when sliced.
Chilling: Refrigerate the assembled dish to set each layer properly, allowing the flavors to meld and the structure to solidify.
Step 1: Prepare the Oreos

Place the Oreos in a food processor and pulse until they become fine crumbs.
Transfer the crumbs to a bowl and mix with the melted butter until well combined.
Ensure the crumbs are evenly coated with butter for a cohesive crust.
Press the mixture firmly into the bottom of a 9x13-inch baking dish.
Step 2: Create the Cream Cheese Layer

In a large bowl, beat the softened cream cheese with an electric mixer until smooth.
Gradually add powdered sugar, continuing to mix until fully incorporated.
Fold in the whipped topping gently to maintain a light texture.
Spread the cream cheese mixture evenly over the Oreo crust.
Step 3: Prepare the Chocolate Pudding

In a separate bowl, whisk together the instant chocolate pudding mix and cold milk.
Continue whisking for about 2 minutes until the mixture begins to thicken.
Let the pudding sit for a few minutes to set slightly.
Spread the chocolate pudding evenly over the cream cheese layer.
Step 4: Add the Whipped Topping

Spread the remaining whipped topping evenly over the chocolate pudding layer.
Use a spatula to smooth the surface for an even appearance.
Ensure the topping covers the entire surface to seal in the layers below.
This layer adds a creamy finish to the dessert.
Step 5: Garnish with Mini Chocolate Chips

Sprinkle mini chocolate chips evenly over the whipped topping.
Distribute the chips to add texture and visual appeal.
Press them lightly into the topping so they adhere.
This final touch enhances the dessert's chocolate flavor.
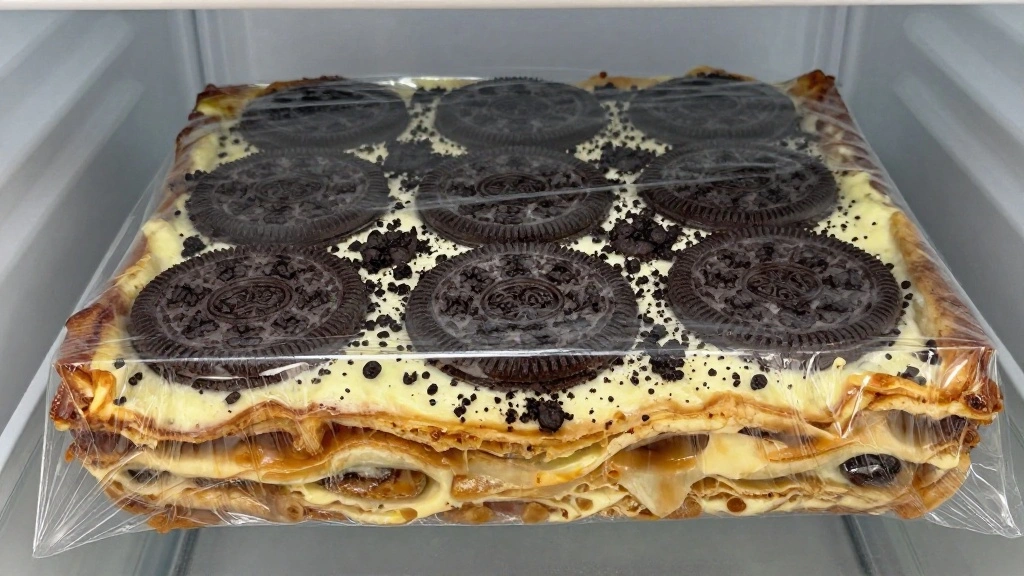
Step 6: Chill the Dessert

Cover the dish with plastic wrap or aluminum foil.
Refrigerate the dessert for at least 4 hours to allow the layers to set.
The chilling process is crucial for the integrity of the layers.
This step enhances the flavors and makes slicing easier.
Step 7: Slice and Serve

Remove the chilled dessert from the refrigerator.
Use a sharp knife to cut into squares, cleaning the knife between cuts for neat slices.
Serve the slices on individual plates for presentation.
Enjoy the creamy, chocolatey layers with each bite.
Step 8: Store Leftovers
Cover any remaining dessert tightly with plastic wrap.
Store in the refrigerator to maintain freshness.
Consume within 3-4 days for optimal taste.
Proper storage prevents the layers from becoming soggy.
Critical Timing and Temperature Guide
Oreo Crust Setting: Ensure the crust is pressed firmly to prevent crumbling. Allow it to chill slightly if possible before adding other layers.
Pudding Thickening: Whisk the pudding mix with cold milk for 2 minutes until thickened. Use cold milk to ensure it sets properly.
Refrigeration: Chill the assembled dessert for at least 4 hours. Check for firmness of layers as an indicator of readiness.
Pro Tips for Sweet and Creamy
• Ingredient Selection: Choose high-quality cream cheese for a smooth, rich texture that elevates the cream cheese layer.
• Preparation Secret: Soften cream cheese to room temperature before mixing to avoid lumps.
• Temperature Management: Ensure all ingredients are cold when preparing the pudding to facilitate proper thickening.
• Texture Enhancement: Gently fold whipped topping into the cream cheese mixture to maintain a fluffy texture.
• Flavor Layering: Use a pinch of salt in the Oreo crust to enhance chocolate flavors.
• Make-Ahead Strategies: Prepare the dessert a day in advance and refrigerate overnight for better flavor development.
• Restaurant-Quality Finishing Touches: Garnish with fresh mint leaves or a dusting of cocoa powder before serving.
• Equipment Optimization: Use a rubber spatula for smooth, even spreading of layers.
Troubleshooting Common Issues
• Crust Too Crumbly: Ensure enough butter is used to bind the crumbs, and press firmly into the dish.
• Layer Mixing: Carefully spread each layer without pushing too hard to prevent mixing.
• Pudding Not Setting: Use cold milk and whisk for the recommended time to achieve proper thickness.
• Soggy Layers: Chill the dessert for the full recommended time to allow layers to set properly.
• Lumpy Cream Cheese Layer: Soften cream cheese thoroughly before beating with sugar to avoid lumps.
• Overly Sweet: Balance sweetness by adjusting sugar in the cream cheese layer if desired.
Variations and Regional Differences
• Mint Oreo Variation: Substitute regular Oreos with Mint Oreos, and use mint extract in the cream cheese layer for a refreshing twist.
• Peanut Butter Oreo Lasagna: Add a layer of creamy peanut butter between the Oreo crust and cream cheese layer for a nutty flavor.
• Berry Topped Version: Top the whipped cream layer with fresh berries for a fruity contrast.
• Caramel Drizzle Style: Drizzle caramel sauce over the top before serving for added sweetness and a rich caramel flavor.
Food Science Behind the Recipe
• Emulsification: The process of combining cream cheese and whipped topping creates a stable emulsion that maintains the texture of the cream cheese layer.
• Gelatinization: The thickening of the pudding is due to gelatinization, where starch granules absorb liquid and swell, creating a semi-solid texture.
• Cryo-preservation: Chilling the dessert not only sets the layers but also allows the ingredients to meld, enhancing flavor through cryo-preservation.
Frequently Asked Questions
What's the most common mistake people make when preparing Oreo Lasagna? The most common mistake is not allowing enough chilling time, which results in layers that do not set properly.
Can I use homemade whipped cream instead of store-bought? Yes, homemade whipped cream can be used, but ensure it is stable enough to hold its shape.
Is it possible to make this dessert gluten-free? Yes, by using gluten-free cookies in place of Oreos and verifying other ingredients are gluten-free.
How do you prevent the cream cheese layer from becoming lumpy? Soften the cream cheese thoroughly and beat well with sugar before folding in the whipped topping.
Can I freeze Oreo Lasagna? Freezing is not recommended as it may alter the texture of the layers once thawed.
What can I use instead of mini chocolate chips for garnish? Chopped chocolate or cocoa powder can be used as alternative toppings.
How long in advance can I prepare Oreo Lasagna? It can be prepared up to two days in advance and stored in the refrigerator.
Serving and Presentation Guide
• Traditional Presentation: Serve each slice on a small dessert plate with a fork and a sprig of mint for garnish.
• Layer Emphasis: Display slices on a clear glass plate to highlight the distinct layers.
• Individual Servings: Prepare in single-serving cups for easy distribution at parties.
• Elegant Touch: Dust lightly with cocoa powder or powdered sugar before serving.
Conclusion
With its layers of creamy and chocolatey goodness, Sweet and Creamy Oreo Lasagna is a dessert that promises satisfaction.
The ease of preparation makes it an ideal choice for both novice and experienced cooks alike.
Try this recipe today and watch it become a favorite at your gatherings.