Deviled eggs have been a staple at my family gatherings for as long as I can remember.
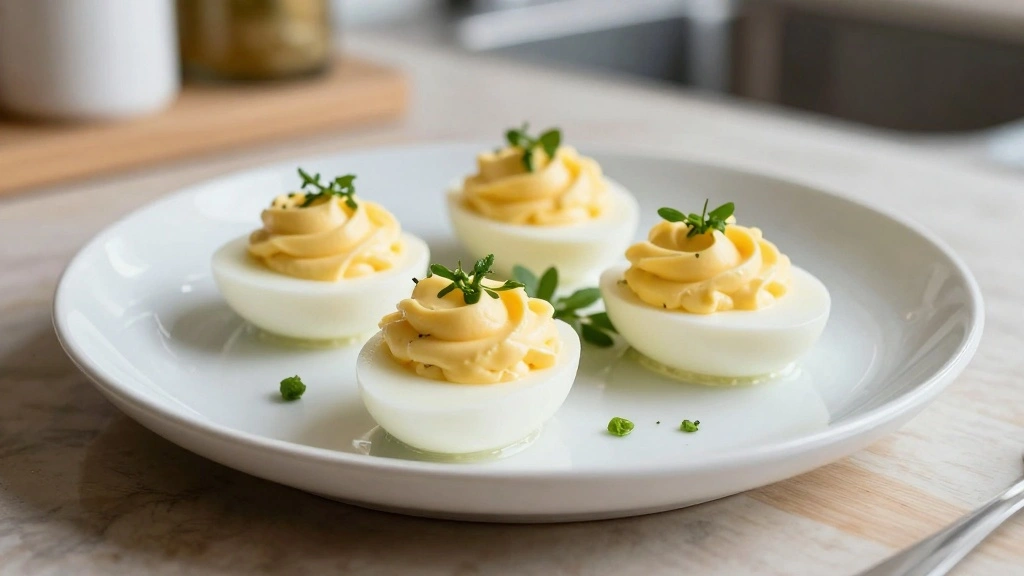
Their creamy, tangy filling enclosed in a tender egg white is a flavor combination that’s both comforting and irresistible.
Each bite brings a perfect balance of rich yolk and zesty seasonings that delights the palate.
This recipe, which has evolved through generations, is the one everyone asks for at parties and potlucks.
Whether celebrating a holiday or simply enjoying a weekend brunch, these deviled eggs are always a hit.
Get ready to impress your guests with this timeless classic that’s both simple to make and hard to resist.
The History and Cultural Significance
• Deviled Eggs Recipe traces its origins to ancient Rome, where it was originally created by Roman chefs as a luxurious appetizer.
• The dish evolved over decades as spices and condiments became more accessible, eventually becoming the beloved version we know today.
• In Southern United States, this dish traditionally appears at family reunions and picnics, symbolizing hospitality and comfort.
• While many variations exist across different regions, the authentic version maintains a creamy and spicy filling that sets it apart from imitations.
Recipe Overview
Nutritional Information
Essential Equipment Guide
Medium Saucepan: Essential for boiling the eggs evenly to the perfect texture. Alternatives like an electric egg cooker can work, but ensure it has a timer for precision.
Mixing Bowl: Important for combining the filling ingredients smoothly. Look for a bowl with a non-slip base to prevent accidents while mixing.
Piping Bag: Crucial for neatly filling the egg whites with the yolk mixture. A plastic sandwich bag with a snipped corner can serve as a makeshift option.
Ingredients
For the Base
|
| Amount | Ingredient | Notes |
|---|---|---|
| 6 large | eggs | boiled and peeled |
For the Filling
| Amount | Ingredient | Notes |
|---|---|---|
| 3 tablespoons | mayonnaise | adds creaminess |
| 1 teaspoon | mustard | for tangy flavor |
| 1 teaspoon | white vinegar | adds acidity |
| 1 pinch | salt | enhances taste |
| 1 pinch | black pepper | adds depth |
For Garnish
| Amount | Ingredient | Notes |
|---|---|---|
| 1 teaspoon | paprika | for color and mild heat |
| 1 tablespoon | chives | finely chopped, adds freshness |
Preparation Methods
Perfect Egg Boiling: Carefully timing the boiling process is crucial to achieve eggs that are easy to peel and have a perfectly set yolk. Start eggs in cold water and bring to a boil, then let them sit in the hot water off the heat for precise timing.
Yolk Mashing: Achieving a smooth filling requires thorough mashing of the yolks. A fork or potato masher works well, but ensure all lumps are gone for the best texture.
Piping Technique: Mastering the piping of the yolk mixture into the egg whites creates an attractive presentation. Use steady pressure and a circular motion for even distribution.
Step 1: Boil the Eggs

Place eggs in a medium saucepan and cover with cold water.
Bring to a boil over medium-high heat.
Once boiling, remove from heat and cover with a lid.
Let sit for 10 minutes for perfectly cooked yolks.
Step 2: Cool and Peel

Transfer eggs to a bowl of ice water to cool.
Let them sit for 5 minutes to stop the cooking process.
Gently crack the shells and peel under running water.
Ensure all shell fragments are removed for smooth eggs.
Step 3: Halve the Eggs

Slice each egg in half lengthwise with a sharp knife.
Wipe the knife clean between cuts to keep the whites pristine.
Remove the yolks carefully to avoid tearing the whites.
Set whites aside on a serving platter.
Step 4: Mash the Yolks

Place yolks in a mixing bowl.
Use a fork to mash them into fine crumbles.
Ensure no large pieces remain for a smooth filling.
The yolks should look like fine breadcrumbs.
Step 5: Mix the Filling

Add mayonnaise, mustard, vinegar, salt, and pepper to the yolks.
Stir until well combined and creamy.
Taste and adjust seasoning if necessary.
The mixture should be smooth and not too thick.
Step 6: Fill the Egg Whites

Transfer the yolk mixture to a piping bag.
Pipe the filling into the egg whites evenly.
Ensure each egg half is generously filled.
Use a circular motion for neat presentation.
Step 7: Garnish with Paprika

Sprinkle a pinch of paprika over the filled eggs.
This adds color and a hint of spice.
Be gentle to avoid disturbing the filling.
Use a fine mesh sieve for even distribution.
Step 8: Add Chives for Freshness

Chop chives finely with a sharp knife.
Sprinkle over the eggs for a fresh touch.
Ensure even coverage for visual appeal.
Chives add a mild onion flavor that complements the filling.
Critical Timing and Temperature Guide
Boiling Eggs: Boil for exactly 10 minutes after removing from heat for perfectly set yolks. Overcooking leads to a green ring around the yolk and rubbery whites.
Cooling Eggs: Submerge in ice water for at least 5 minutes to stop cooking. Ensure the water is icy cold to prevent overcooking.
Filling Consistency: Yolks should be mashed until creamy with no lumps. A thick filling can be adjusted by adding more mayonnaise in small increments.
Pro Tips for Deviled Eggs Recipe
• Ingredient Selection: Choose fresh, large eggs for the best results. High-quality mayonnaise and mustard enhance the filling's flavor significantly.
• Preparation Secret: Peel eggs under running water to easily remove stubborn shell pieces and achieve smooth whites.
• Temperature Management: Ensure eggs are fully cooled before peeling to prevent tearing the whites.
• Texture Enhancement: Sieve the yolk mixture for an ultra-smooth filling that distinguishes gourmet deviled eggs.
• Flavor Layering: Use a mix of mustard types, like Dijon and yellow, to create a complex flavor profile.
• Make-Ahead Strategies: Prepare yolk mixture a day in advance and store in a piping bag. Assemble just before serving for freshness.
• Restaurant-Quality Finishing Touches: Use a star-tip piping nozzle for professional-looking presentation.
• Equipment Optimization: A potato masher can make quick work of yolk mashing if you don't have a fork available.
Troubleshooting Common Issues
• Egg Whites Tearing: Overcooked eggs are difficult to peel and may cause tearing. Use fresh eggs and proper cooling to prevent this.
• Filling Too Runny: Excessive mayonnaise can make the filling runny. Add yolks or reduce mayonnaise to thicken.
• Filling Too Thick: If the filling is too thick, gradually add more mayonnaise or a splash of vinegar to achieve desired consistency.
• Flavors Too Bland: Insufficient seasoning can lead to bland flavors. Taste and adjust salt, mustard, and vinegar levels accordingly.
• Green Ring Around Yolk: This is caused by overcooking. Follow precise timing for boiling to avoid this.
• Eggs Difficult to Peel: Fresh eggs are harder to peel. Use eggs that are at least a week old for easier peeling.
Variations and Regional Differences
• Southern Style: Includes relish and hot sauce in the yolk mixture for a sweet and spicy twist, reflecting Southern culinary influences.
• French Variation: Incorporates crème fraîche and Dijon mustard for a rich, tangy flavor profile, typical of French cuisine.
• Asian-Inspired: Features soy sauce and wasabi in the filling, offering a unique umami flavor with a hint of heat.
• Mexican Style: Adds avocado and lime juice to the yolk mixture, creating a creamy, zesty filling with a Mexican flair.
Food Science Behind the Recipe
• Protein Coagulation: Understanding how proteins in the egg white set is key to achieving the perfect texture. The right temperature and timing prevent rubbery whites.
• Emulsification: Mayonnaise acts as an emulsifier, blending the yolk mixture into a creamy filling. This principle ensures a smooth, stable filling.
• Acidity Balance: Vinegar and mustard introduce acidity, which balances the richness of the yolks and mayonnaise, enhancing overall flavor.
Frequently Asked Questions
What's the most common mistake people make when preparing deviled eggs? Overcooking the eggs, which results in a green ring around the yolk and rubbery whites.
Can I prepare deviled eggs in advance? Yes, prepare the yolk mixture a day ahead, but assemble right before serving to maintain freshness.
How do I prevent the filling from being too runny? Use precise measurements and adjust mayonnaise gradually to achieve the right consistency.
What if I want a spicier filling? Add a pinch of cayenne pepper or a dash of hot sauce to the yolk mixture for extra heat.
Why are my eggs difficult to peel? Fresh eggs are harder to peel. Use eggs that are at least a week old and cool them rapidly after boiling.
How can I achieve a smooth filling? Mash yolks thoroughly and consider sieving the mixture for an ultra-smooth texture.
What can I use instead of chives for garnish? Finely chopped parsley or dill can be great alternatives for a fresh garnish.
Serving and Presentation Guide
• Traditional Presentation: Serve deviled eggs on a decorative platter, arranged in a circular pattern with garnishes centered.
• Elegant Display: Use a tiered serving tray for a visually appealing presentation, perfect for formal gatherings.
• Casual Buffet: Present on a rustic wooden board with assorted garnishes for a relaxed, inviting atmosphere.
• Individual Servings: Place each egg half in a small, decorative cup or holder to offer personal portions at a cocktail party.
Conclusion
Embark on a culinary journey with this classic deviled eggs recipe.
With its perfect balance of creamy and tangy flavors, it's sure to become a staple at your gatherings.
Try this recipe and watch as your guests eagerly ask for your secret.
Happy cooking and enjoy the delightful smiles your deviled eggs will bring!