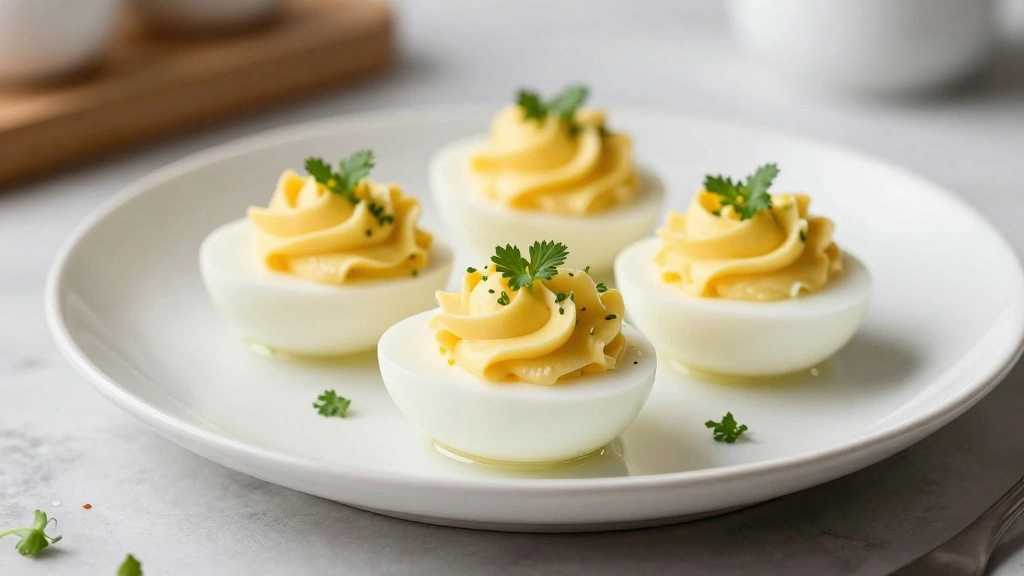
The classic Deviled Eggs recipe brings together simple ingredients to create a timeless appetizer that’s loved by many.
Its creamy and tangy flavor profile makes it a standout dish at any gathering.
I first encountered this recipe at a family picnic, where it was the star of the spread.
Whether for a summer party or a holiday feast, Deviled Eggs deliver satisfying taste with minimal effort.
This recipe will guide you through creating perfect Deviled Eggs every time.
The History and Cultural Significance
• Deviled Eggs Recipe traces its origins to ancient Rome, where it was originally created by using boiled eggs topped with spicy sauces.
• The dish evolved over decades as spices and mustard were incorporated, eventually becoming the beloved version we know today.
• In American culture, this dish traditionally appears at picnics and holiday gatherings, symbolizing celebration and togetherness.
• While many variations exist across different regions, the authentic version maintains a creamy yolk filling that sets it apart from imitations.
Recipe Overview
Nutritional Information (per serving)
Essential Equipment Guide
Egg Cooker: An egg cooker ensures perfectly hard-boiled eggs every time, eliminating the guesswork. A saucepan works as an alternative, but timing is more crucial.
Piping Bag: For achieving a polished presentation, a piping bag is ideal for filling the egg whites smoothly. A plastic bag with a corner cut off can serve as a substitute.
Mixing Bowl: A medium-sized mixing bowl helps blend the yolk mixture evenly, ensuring a smooth filling. Look for a bowl with a non-slip base for stability.
Ingredients
For the Base
|
| Amount | Ingredient | Notes |
|---|---|---|
| 6 large | eggs | hard-boiled and peeled |
| 1/4 cup | mayonnaise | adds creaminess |
| 1 teaspoon | Dijon mustard | provides tangy flavor |
| 1/2 teaspoon | white vinegar | adds acidity |
| 1/8 teaspoon | salt | enhances taste |
| 1/8 teaspoon | black pepper | adds a hint of spice |
Seasonings
| Amount | Ingredient | Notes |
|---|---|---|
| 1 teaspoon | paprika | for garnish and color |
| 1 tablespoon | chives | finely chopped, for garnish |
Preparation Methods
Hard-Boiling Eggs: Place eggs in a single layer in a saucepan, cover with water, and bring to a boil. Once boiling, remove from heat and let sit for 10 minutes before transferring to an ice bath. This method ensures perfectly cooked yolks without a green ring.
Mashing Yolk: Use a fork to mash the yolks to a fine consistency. This is crucial for a smooth filling and ensures the flavors integrate well.
Piping the Filling: Use a piping bag to fill egg whites with the yolk mixture. This technique not only provides a neat presentation but also helps distribute the filling evenly.
Step 1: Prepare Ingredients

Gather all ingredients and equipment.
Ensure eggs are hard-boiled and peeled.
Set up a clean workstation for efficient preparation.
Measure out mayonnaise, mustard, vinegar, salt, and pepper for the filling.
Step 2: Boil the Eggs

Place eggs in a saucepan and cover with water.
Bring to a rolling boil over medium-high heat.
Once boiling, remove from heat and cover.
Let them stand for 10 minutes, then transfer to an ice bath.
Step 3: Peel and Halve the Eggs

Peel the cooled eggs gently to avoid damaging the whites.
Slice each egg in half lengthwise using a sharp knife.
Carefully remove the yolks and place them in a mixing bowl.
Set the egg whites aside on a serving platter.
Step 4: Mash the Yolks

Use a fork to mash the yolks into a fine consistency.
This process should eliminate any large lumps for a smooth texture.
Add mayo, mustard, vinegar, salt, and pepper to the yolks.
Mix until fully incorporated into a creamy filling.
Step 5: Prepare the Filling

Taste the filling and adjust seasoning if needed.
Transfer the yolk mixture into a piping bag for neat filling.
If using a plastic bag, cut a small corner to pipe.
Ensure the filling is smooth and creamy before piping.
Step 6: Fill the Egg Whites

Pipe the yolk mixture into the cavity of each egg white.
Fill each half generously to use all the filling.
Ensure an even distribution of filling across all eggs.
Clean any edges for a tidy presentation.
Step 7: Garnish the Eggs

Sprinkle paprika over the filled eggs for color.
Add finely chopped chives for a touch of freshness.
Garnishing adds visual appeal and enhances flavor.
Adjust amount of garnish to personal preference.
Step 8: Serve and Enjoy

Arrange deviled eggs neatly on a serving platter.
Serve chilled or at room temperature as desired.
Pair with complementary appetizers or a refreshing drink.
Enjoy the timeless taste of classic deviled eggs.
Critical Timing and Temperature Guide
Boiling Eggs: Boil for 10 minutes, then transfer to an ice bath. Eggs should be firm with no green ring around the yolk.
Cooling Eggs: Cool eggs in an ice bath for at least 5 minutes. This ensures easy peeling and avoids overcooking.
Serving Temperature: Serve eggs chilled or at room temperature. Avoid keeping them out for more than two hours to maintain freshness.
Pro Tips for Deviled Eggs Recipe
• Ingredient Selection: Choose fresh, high-quality eggs for the best flavor and texture.
• Preparation Secret: Add a pinch of sugar to the yolk mixture for subtle sweetness that balances flavors.
• Temperature Management: Ensure the eggs are completely cooled before peeling to prevent tearing the whites.
• Texture Enhancement: Sieve the yolks for an ultra-smooth filling.
• Flavor Layering: Incorporate a dash of hot sauce or horseradish for added depth.
• Make-Ahead Strategies: Prepare yolk mixture a day in advance and refrigerate, filling eggs just before serving.
• Restaurant-Quality Finishing Touches: Use microgreens as a garnish for a professional touch.
• Equipment Optimization: Use a small offset spatula to smooth filling if a piping bag is unavailable.
Troubleshooting Common Issues
• Egg Whites Tearing: Caused by peeling eggs before fully cooled; always use an ice bath.
• Filling Too Thick: Results from insufficient mayo; add more or a bit of cream for smoothness.
• Flavor Too Bland: Adjust seasoning with additional mustard or vinegar to enhance taste.
• Filling Not Smooth: Ensure yolks are mashed thoroughly; consider using a sieve for fine texture.
• Eggs Tipping Over: Slice a small piece off the bottom of each egg white to stabilize them.
• Green Ring on Yolk: Avoid overcooking by following precise boiling times and using an ice bath immediately.
Variations and Regional Differences
• Southern Style: Incorporates sweet pickle relish and a dash of hot sauce for a tangy, spicy flavor.
• French Style: Uses crème fraîche instead of mayonnaise and includes herbs like tarragon for a refined taste.
• Asian Fusion: Adds soy sauce and wasabi to the yolk mixture for an umami-rich, spicy twist.
• Tex-Mex: Includes avocado and lime juice for creaminess and a hint of citrus.
• Scandinavian Style: Features smoked salmon and dill, highlighting the region's seafood traditions.
Food Science Behind the Recipe
• Protein Coagulation: Understanding how egg proteins coagulate helps achieve perfectly boiled eggs without overcooking.
• Emulsification: The process of combining mayonnaise and mustard with yolk creates a stable emulsion, resulting in a creamy filling.
• Flavor Balance: The interplay of acid (vinegar) and fat (mayonnaise) enhances flavor while maintaining a light texture.
• Heat Transfer: Using an ice bath stops the cooking process immediately, preventing overcooked yolks.
Frequently Asked Questions
What's the most common mistake people make when preparing Deviled Eggs? Overcooking the eggs, which leads to a green ring around the yolk. Always use an ice bath to stop cooking.
Can I make Deviled Eggs ahead of time? Yes, prepare the filling in advance and store it separately, filling eggs just before serving.
How can I make the filling smoother? Sieve the yolks or blend them in a food processor for a silky texture.
What can I use instead of mayonnaise? Try Greek yogurt or avocado for a healthier alternative with a creamy texture.
How do I prevent the eggs from tipping over? Slice a small piece off the bottom of each egg white to create a stable base.
Are there vegan options for Deviled Eggs? Yes, use tofu or chickpea-based fillings and vegan mayo for a plant-based version.
What are some garnishing ideas? Use fresh herbs, smoked paprika, or microgreens for a professional touch.
Serving and Presentation Guide
• Traditional Presentation: Arrange eggs in a circular pattern on a platter, garnished with paprika and chives.
• Modern Twist: Serve on individual spoons with a sprinkle of microgreens for an elegant touch.
• Buffet Style: Use a tiered serving tray to create an eye-catching display at large gatherings.
• Minimalist Approach: Present on a sleek white platter with simple garnishes for a clean look.
• Regional Flair: Incorporate elements such as pickled vegetables or regional spices to align with specific cultural presentations.
Conclusion

Now that you've mastered the art of making classic Deviled Eggs, they're sure to become a staple at your gatherings.
With their creamy texture and balanced flavors, these eggs are a delightful treat for any occasion.
Try this recipe yourself and experience the timeless appeal of a beloved dish.
Share it with friends and family and enjoy the compliments that follow.